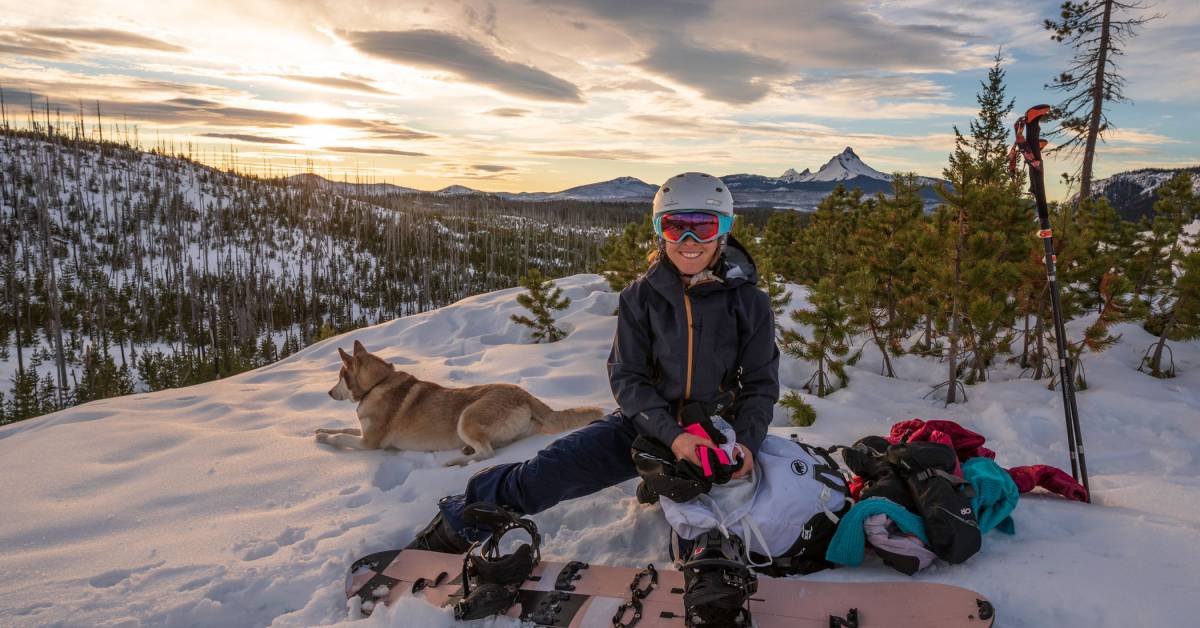
The desire to get out away from crowds and into the backcountry is higher than ever. And while backcountry snowboarding through a forested powder bowl may seem safe enough, it’s only safe if you know what you are doing.
More than anything, it’s essential that you have a solid understanding of what it takes to be responsible for both yourself and the party you’re with if you’re heading into the backcountry. That goes for any outdoor pursuit — but it’s doubly true for skiers and snowboarders.
Growing up in Alaska, skiing is just what everyone did. But at age 11, I took a snowboarding lesson and I never looked back.
At 16, my dad snowmobiled me and my board to the top of some obscure hill in the wilderness. That gave me my first glimpse of the freedom and adventure that awaits off groomed runs. My body was sore all over and my mind was blown. Fast forward and, other than the occasional day at the resort here and there, I have spent most of the last 20 years earning my turns.
For those who want to get into it but don’t know where to begin, I put together some of my favorite tips to help you build your base, knowledge, and confidence in a non-intimidating way. I also got some time with pro rider Austin Smith to learn what he thought was most important for people wanting to enter this fun, and sometimes scary, world.

Austin Smith: Expert Tips for Backcountry Snowboarding
How do you start backcountry snowboarding?
When I asked Austin what his first three tips were for getting into backcountry snowboarding, he was quick with his answer.
Austin Smith:
- Take an avalanche safety course.
- Take an avalanche safety course.
- Take an avalanche safety course.
My thoughts: I 100% agree. Before you do anything else, sign up for an avi safety course. They differ depending on where you live, but the BCA site breaks down the different avalanche courses really well.
Everyone should take a basic level 1 course. This is a 3-day commitment, broken up with both classroom and physical time. Currently, almost all courses offer classroom time online and outside time with masks and in a socially distanced manner.
I highly recommend taking a course as near where you want to go snowboarding as you can get. That way, you can practice and get familiar with your area in a safe manner.
If you have already taken this course, or if you want more skills and details on avalanche rescue, take the level 2 course directly after your level 1. Then, take it every year as a refresher course. Knowledge is power, and practice is lifesaving (not to mention mandatory).
Should you ride with someone in the backcountry? Who?
Austin Smith: The same people I’ve been in the backcountry with for the past 15 years. It’s kind of a yin and yang situation: As you build your confidence with experience in the backcountry, you need to build trust with [the people] you’re out there with. It’s dangerous if you don’t know each other; it creates a dynamic to withhold your opinion and fall into a group mentality. If you’re with new people, take those days extra cautious.
My thoughts: It’s no fun hitting the resort on your own, and heading into the backcountry is no different. Before you go, find a good group of friends that you trust and have similar safety ethics that you do.
I personally like to go with both skiers and snowboarders because, in general, I find that skiers and snowboarders have different skills and strengths. And when it comes to picking lines and staying clear of potential avalanche danger, it’s nice to have a wide range of people on your team.
I also tell my newbie friends (and remind myself of this as well) to always speak up if they feel uneasy or have any questions. While we do want to have fun, being safe is of the utmost priority in the mountains, and that includes feeling out the situation and listening to ourselves. No question is dumb!
Should you snowshoe, bootpack, or splitboard in the backcountry?
Austin Smith: This year, I’ve been a big fan of snowshoes. Splitboards do not ride as good as normal snowboards. It’s a snowboard cut in half; the bindings aren’t what you are used to, and there is probably residual skin glue stuck to the base. I’ll suffer a little more on the way up to make the run down better.
The splitboard benefits come into play on long approaches where you can glide across lakes and glaciers. But if you’re going straight up and down, snowshoes are great. Plus, I like the ’90s vibe to them.
My thoughts: While I see where Austin is coming from, I’m a full-time splitboarder. That said, snowshoeing is a great choice. It’s cheap and anyone with a snowboard and some motivation can do it.
However, snowshoes are limited in where they can go, especially without the help of a snowmobile or helicopter. This is especially true for bigger mountains that have long approaches. Furthermore, some conditions, like very deep pow, make bootpacking nearly impossible.
Splitboarding, by contrast, requires a bigger commitment as far as gear and money goes. But once you invest, the opportunities to get out become seemingly endless.
Once I made the switch, I remember being so giddy at all the places I could suddenly go. Plus, I was much less frustrated by longer flat sections occasionally found exploring big-mountain descents. I could switch to ski mode and be on my way! Whichever mode you try, make sure you refer back to tip No. 1: Take an avi class first!

How do you dress for backcountry snowboarding?
Austin Smith: Be bold, start cold.
My thoughts: One of my most-asked questions by my backcountry partners is, “What are you going to wear?”
It may sound funny, but winning the layering jackpot feels really good. Sweating a ton and then having it turn cold, however, is no fun. But not wearing enough is also a problem, especially if you stay out for longer than you expected.
While it’s hard to start on the colder side, I do agree with Austin. Stopping to de-layer a few minutes after you start is always annoying to those in your party. And if you hold off and wait too long, you get sweaty, which turns cold later on.
Tips for better transitions?
Austin Smith: I do suggest practicing switching from skin mode to downhill mode in your living room. Know that it is very different once you get on top of a snowy, windy mountain. So get to know the basics, then be ready to take your time and have cold fingers the first couple times you go out.
For skins, I like to crumple them into a ball like a newspaper. And [to help] keep up on the flats, don’t lift your feet. Instead, glide your feet.
My thoughts: Learning how to be efficient and fast at transitions will make the whole experience more enjoyable. And if you’re in a mixed group with skiers, they will love you for keeping up.
For my first couple times out at the beginning of the season, I always go somewhere mellow. I’ll skin up on the uphill route and take as much time as I need to transition over to ride mode.
Over the years, I have learned a few tricks that have really helped me do it fast in all sorts of crazy weather conditions. My favorite, and most useful, tip is to put color-coded stickers on your bindings and board. This makes it so you don’t have to think about rights and lefts, or goofy versus regular when transitioning back and forth between riding and skinning.
And always carry a tool! Bolts on spiltboard bindings do loosen, so always check once in a while.
Backcountry Snowboarding Gear
Having the right gear makes getting out in the backcountry much more enjoyable. From mandatory avalanche safety equipment to peak-worthy snacks, this is my go-to gear list.
What I Wear
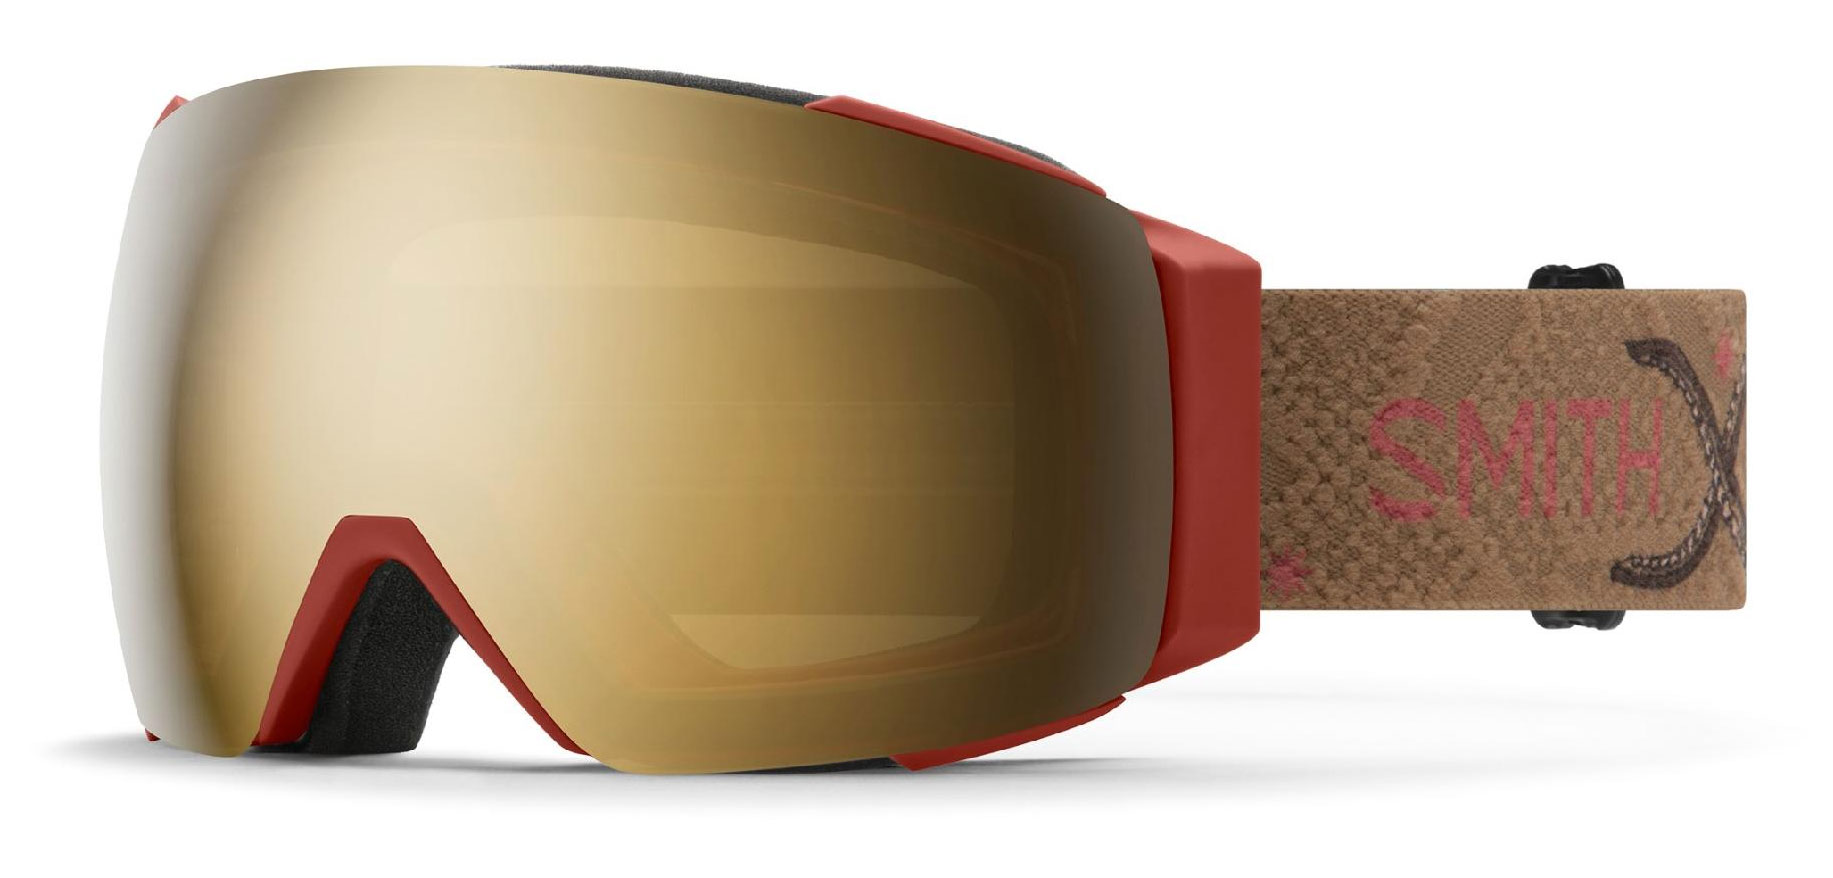
Smith I/O MAG Goggles ($250)
Goggles, in my opinion, are mandatory when going into the backcountry. They help you see your line, which keeps you safe. The Smith I/O MAG are my favorite because it’s like watching a movie on the big screen vs your laptop. I have yet to fog them up, and they fit perfectly with my Smith helmet.
Check Price at REICheck Price at Amazon
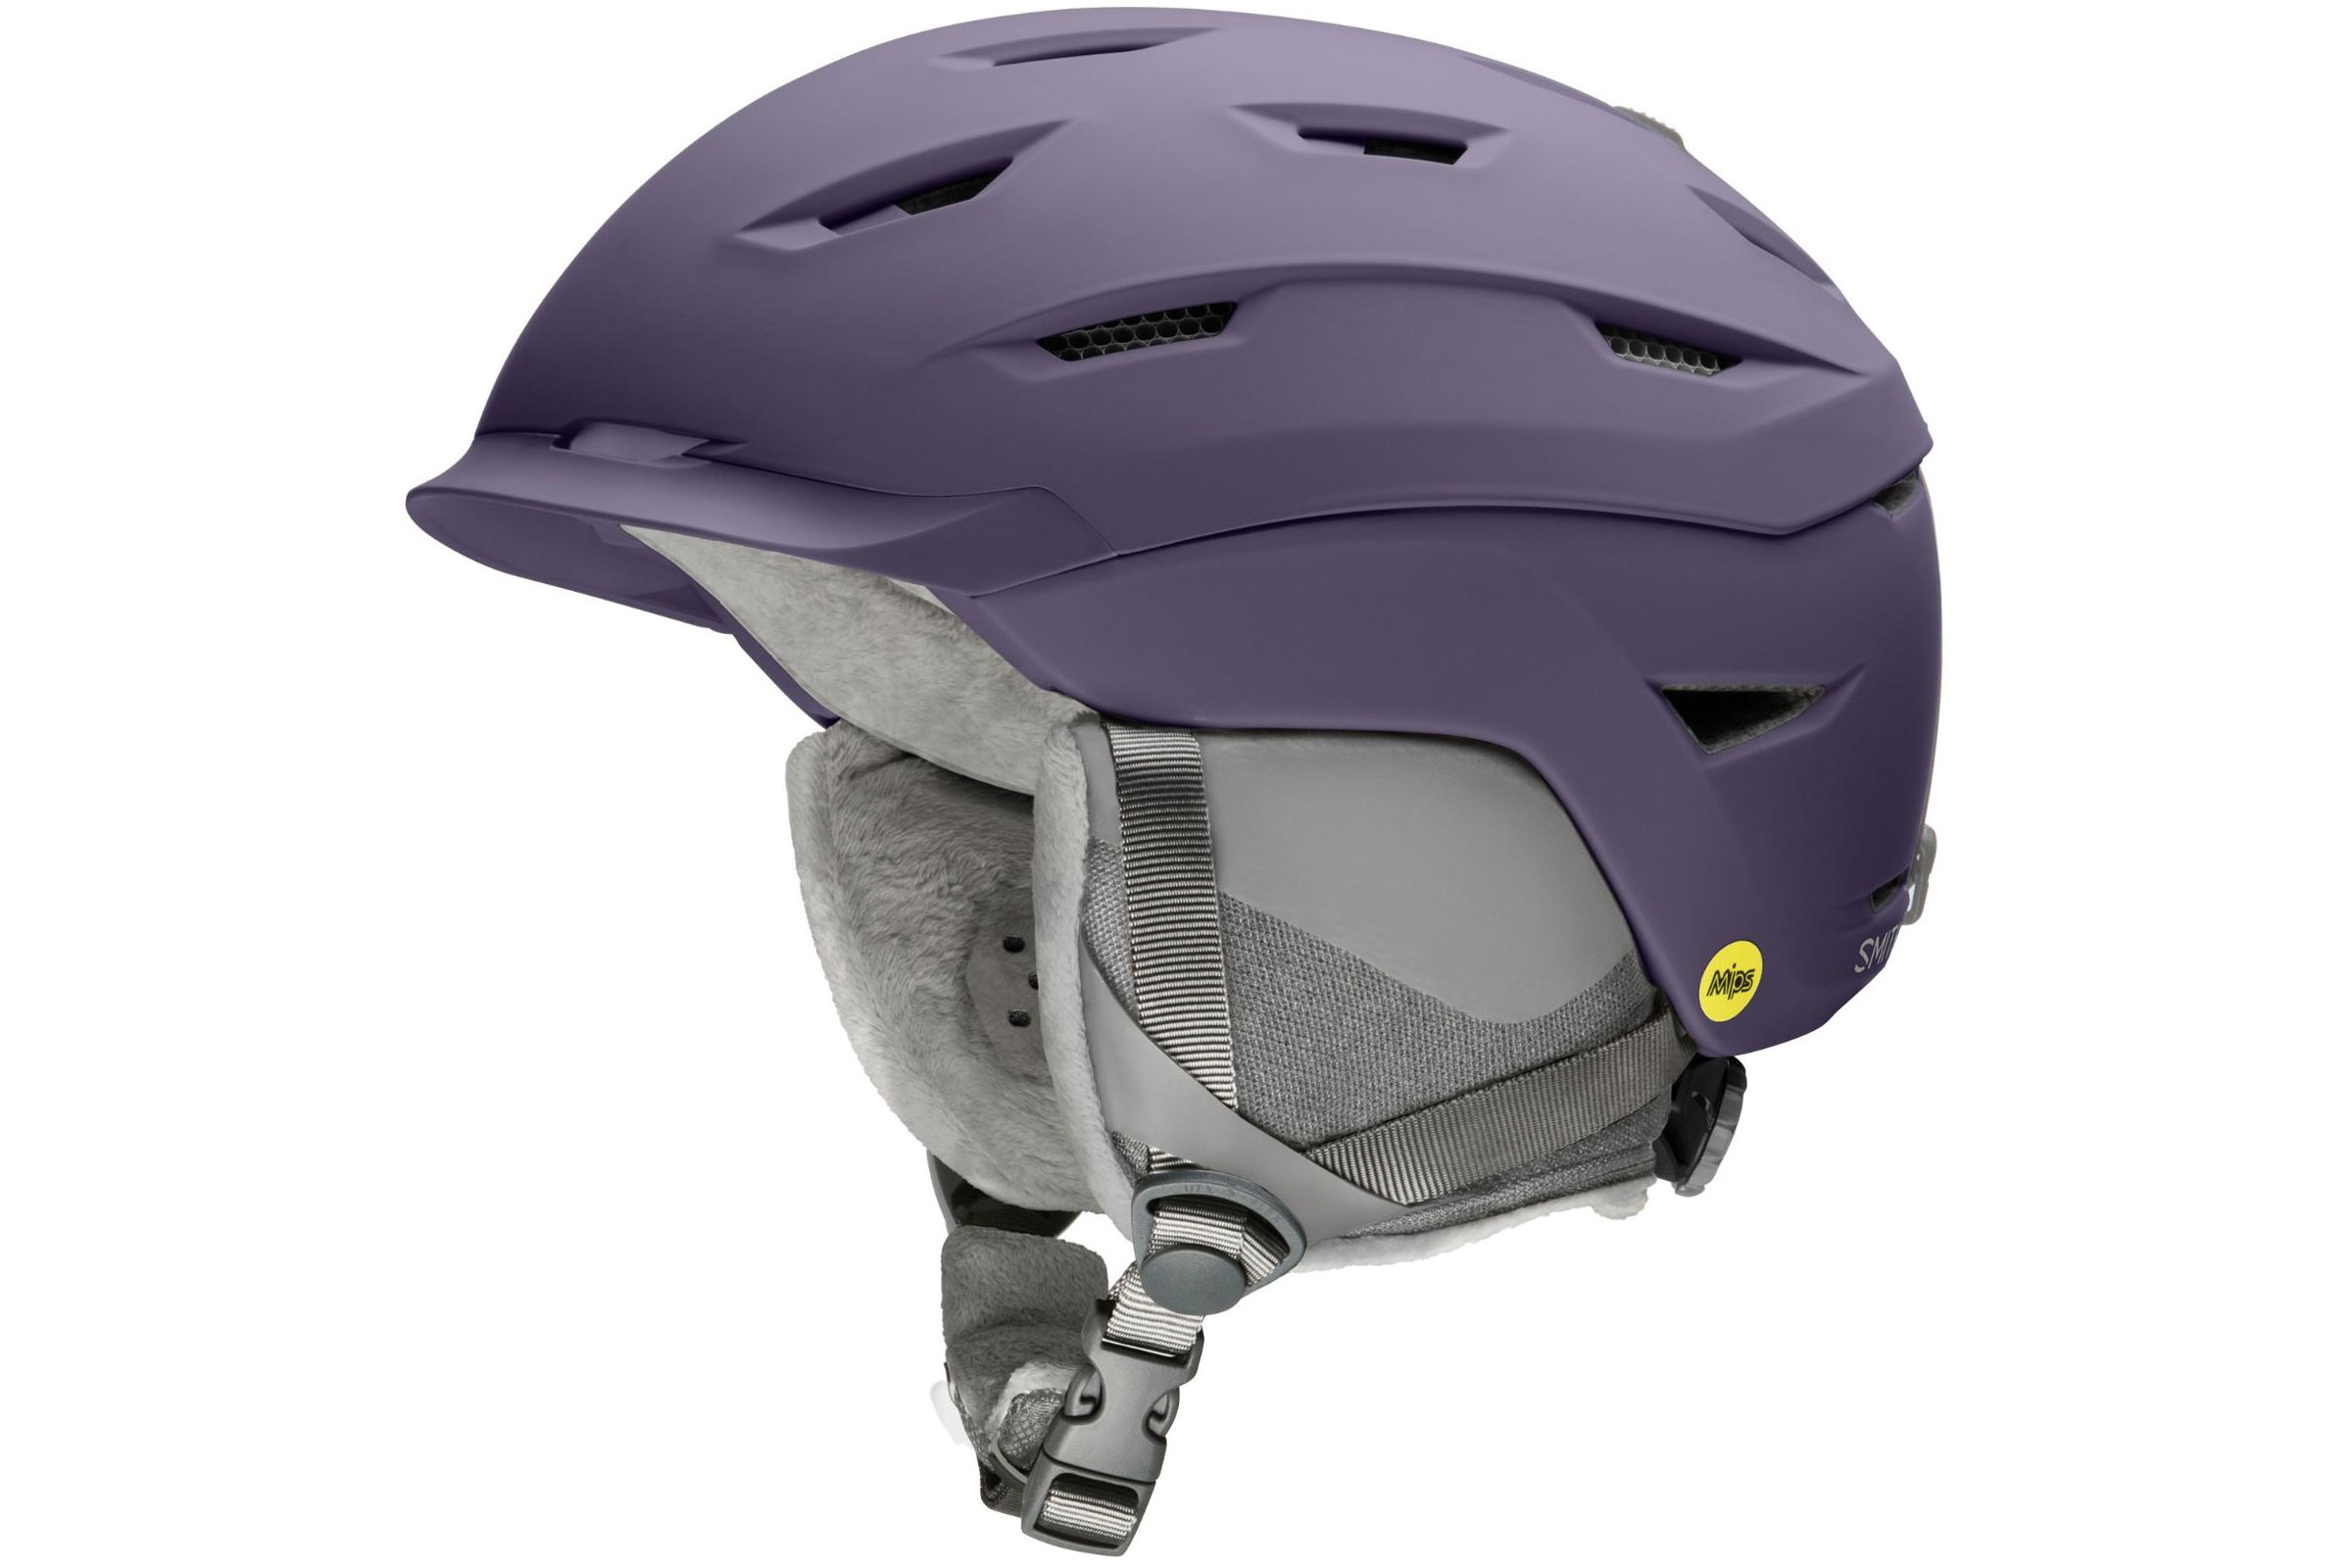
Smith Liberty Helmet ($210)
Not wearing a helmet on a ski slope is like not wearing a helmet when you are riding your bike down a double black diamond. It’s dumb. Wear a helmet, and please make it a certified one that has MIPS. Your brain deserves to be spoiled. I love my Smith Liberty helmet, it’s light, comfortable, and has easy-to-adjust vents.
Check Price at REICheck Price at Amazon
Nike Windshield Pro Sunglasses ($169)
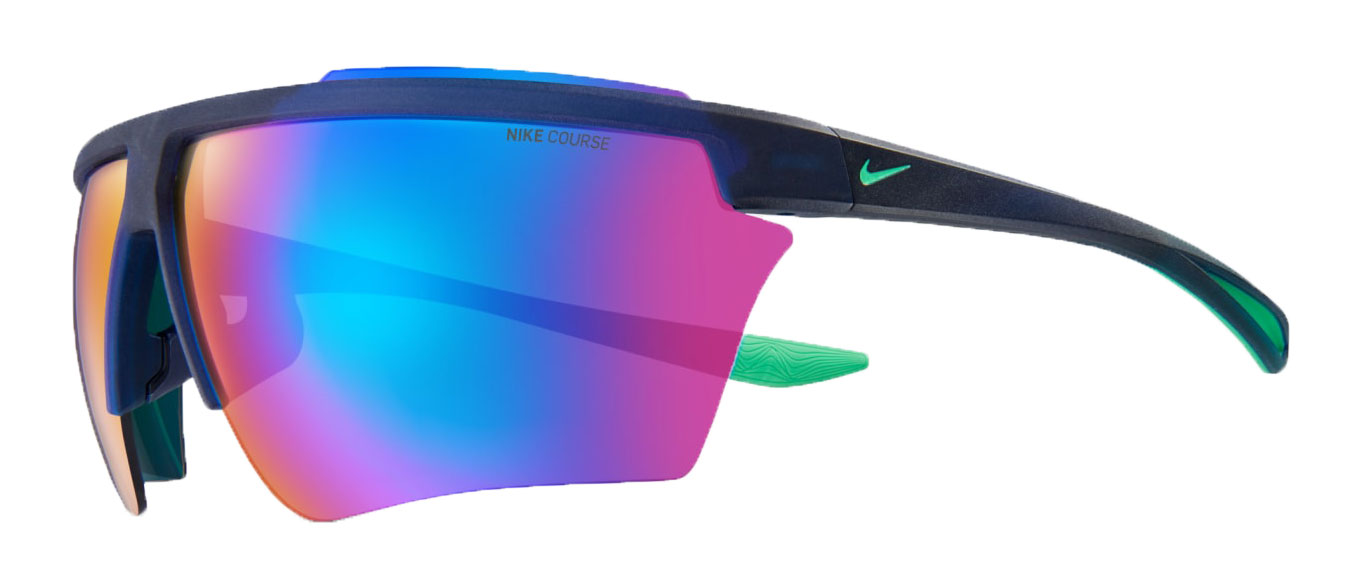
For climbing, sunglasses are a must. I love my Nike Pro Course Tint sunnies. They wrap my whole face, keep the glare and snow off my eyes, and when I forgot my goggles the other day, I used them for going down, and I barely noticed the difference!
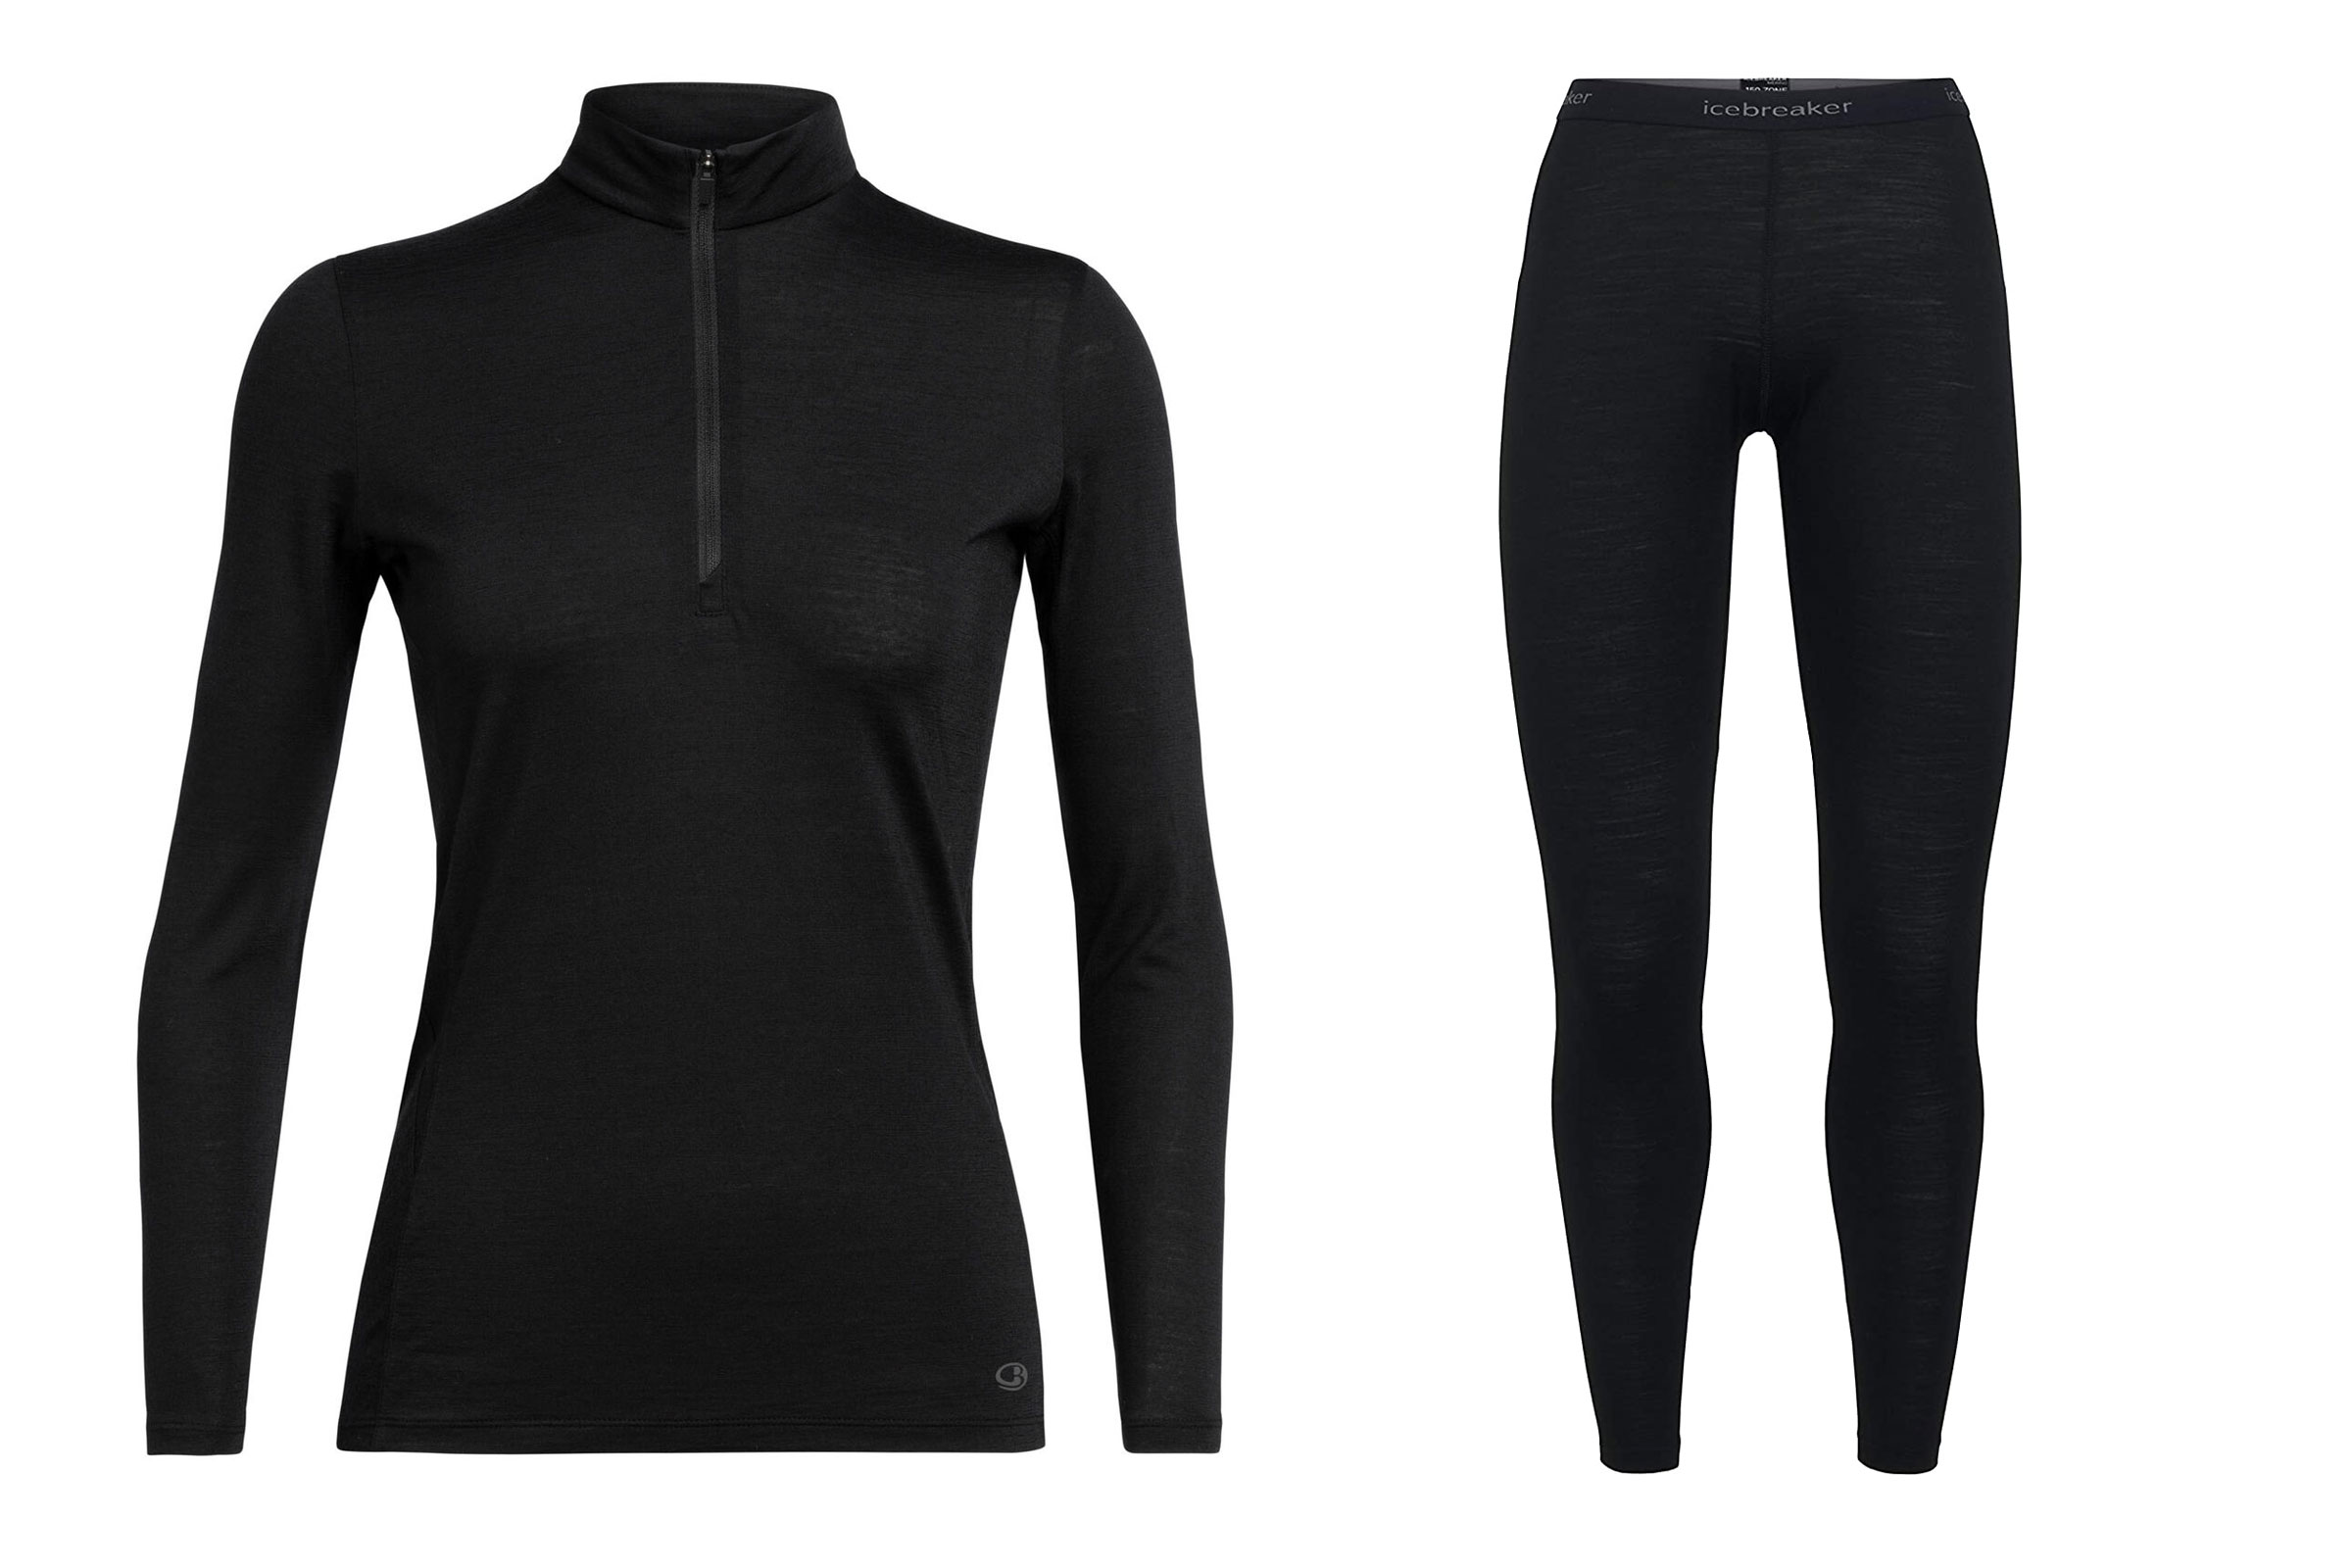
icebreaker Cool-Lite Merino Long Sleeve ($75-110) & 150 Body Fit Thermal Leggings ($95)
Personally, I only ever wear merino wool base layers. Wool is great for temperature regulation, especially when damp from a heavy sweat, and still wicks dry as fast as most techy synthetics. The best part for us sweaty and smelly folk is that merino is also naturally antimicrobial; wear it repeatedly without the dreaded “poly-stink.” This top-and-bottom combo from icebreaker has been my go-to for the last couple of years, and it’s still going strong.
Check Top Price at icebreakerCheck Leggings Price at Moosejaw
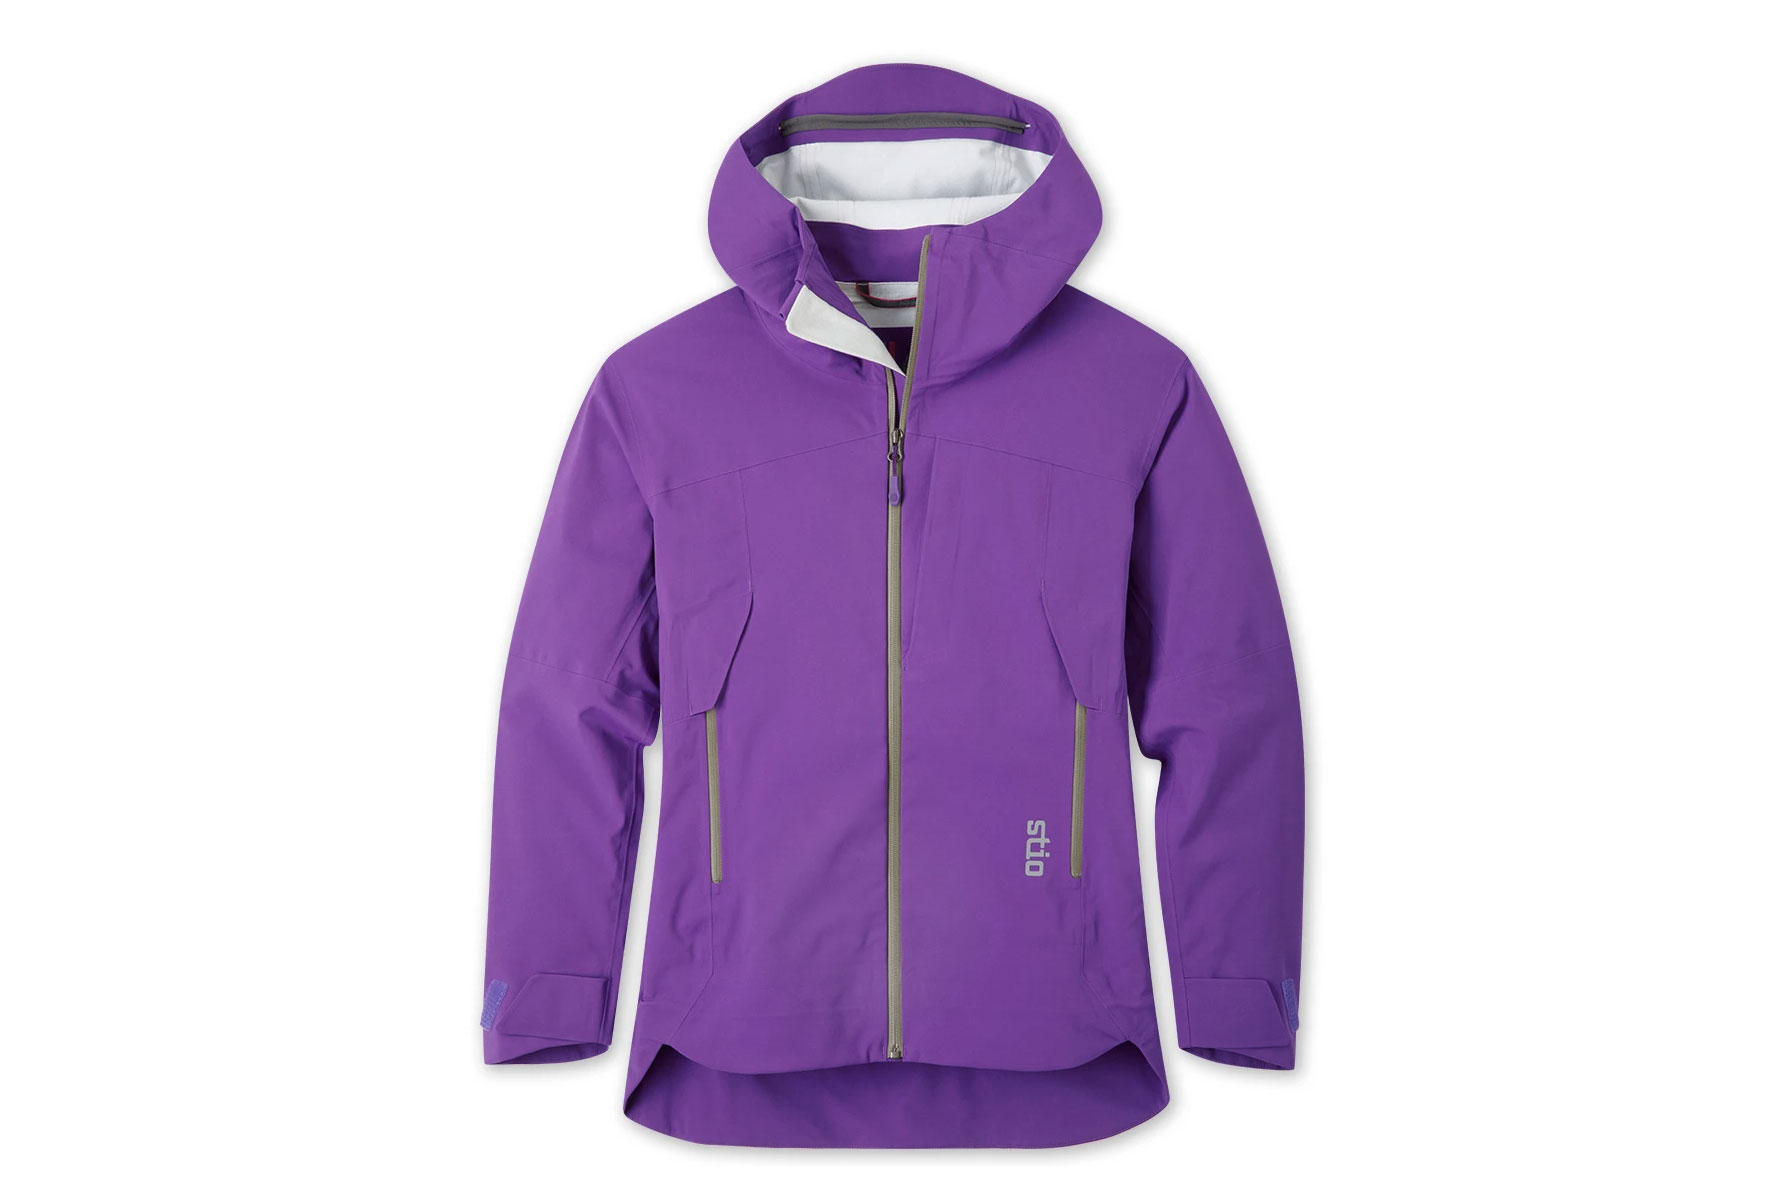
Stio Women’s Credential Jacket ($599) & Men’s Objective Pro Jacket ($699)
Whether it’s dumping snow or below freezing out, this jacket has outperformed my expectations every time. The big pockets are at the perfect height and are still functional with a pack on. The hood fits over a helmet or cinches down around the face when needed. The interior feels like a cozy piece of flannel pajamas for the way down, and it’s breathable thanks to the big armpit openings for the way up.
Check Credential Price at StioCheck Objective Pro Price at Stio
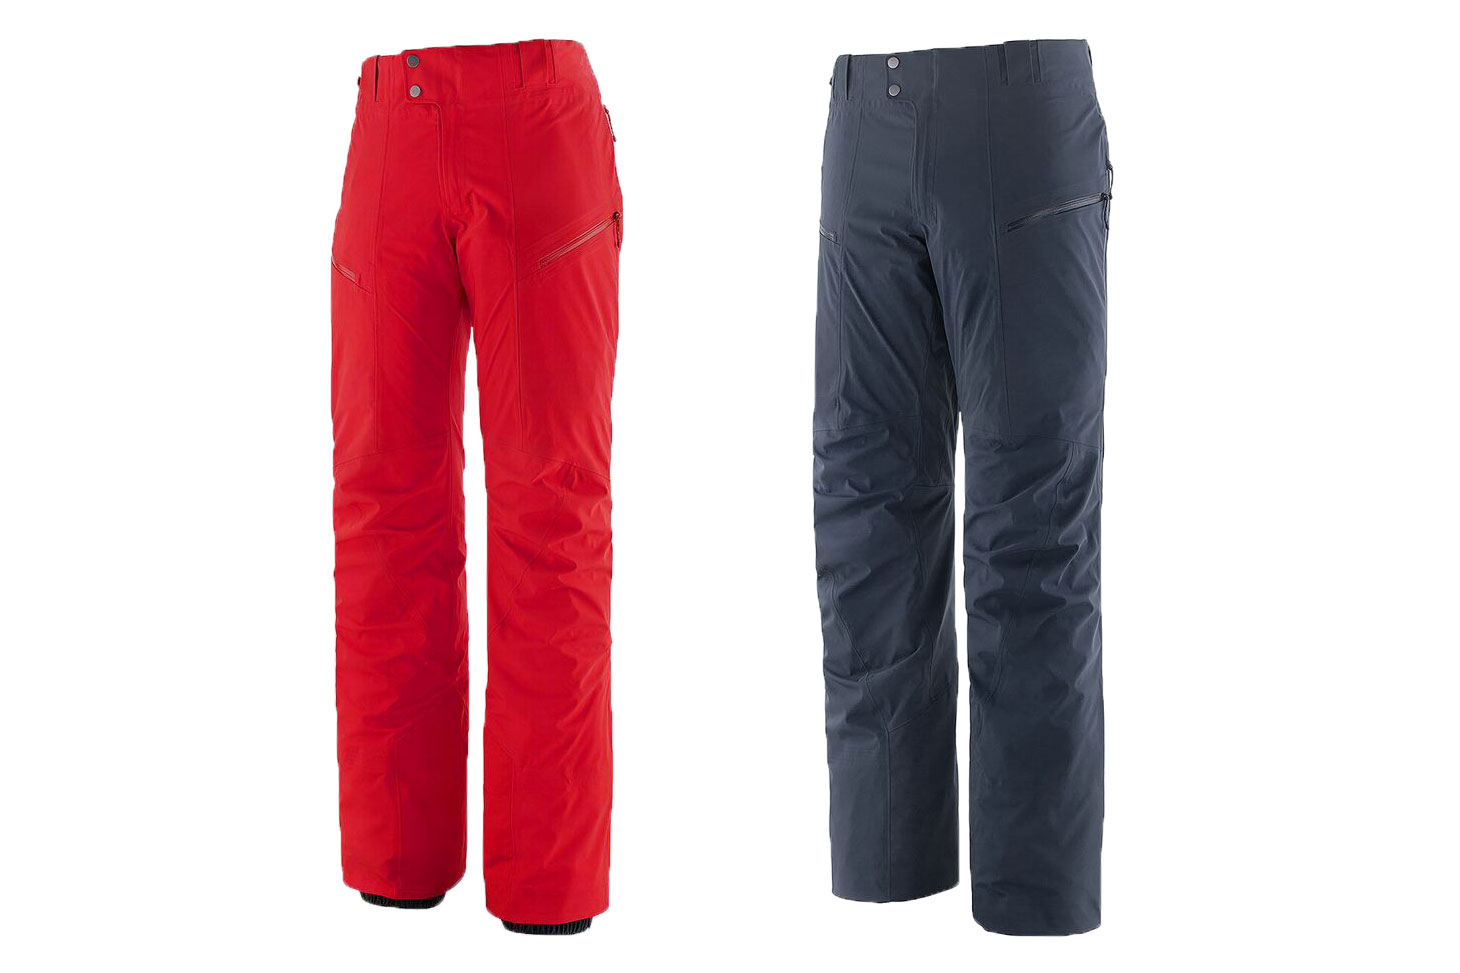
Patagonia Stormstride Pants ($399)
These backcountry-specific waterproof pants are specifically designed to move and breathe with the dedicated ski tourer wearing them. Every feature, from the easy-access thigh vents to the H2NO three-layer stretch fabric (and more), makes these the ultimate backcountry pants. They are awesome for working hard on the way up and carving out awesome turns for the way down. Read our full Stormstride review here.
Check Price at BackcountryCheck Price at REI
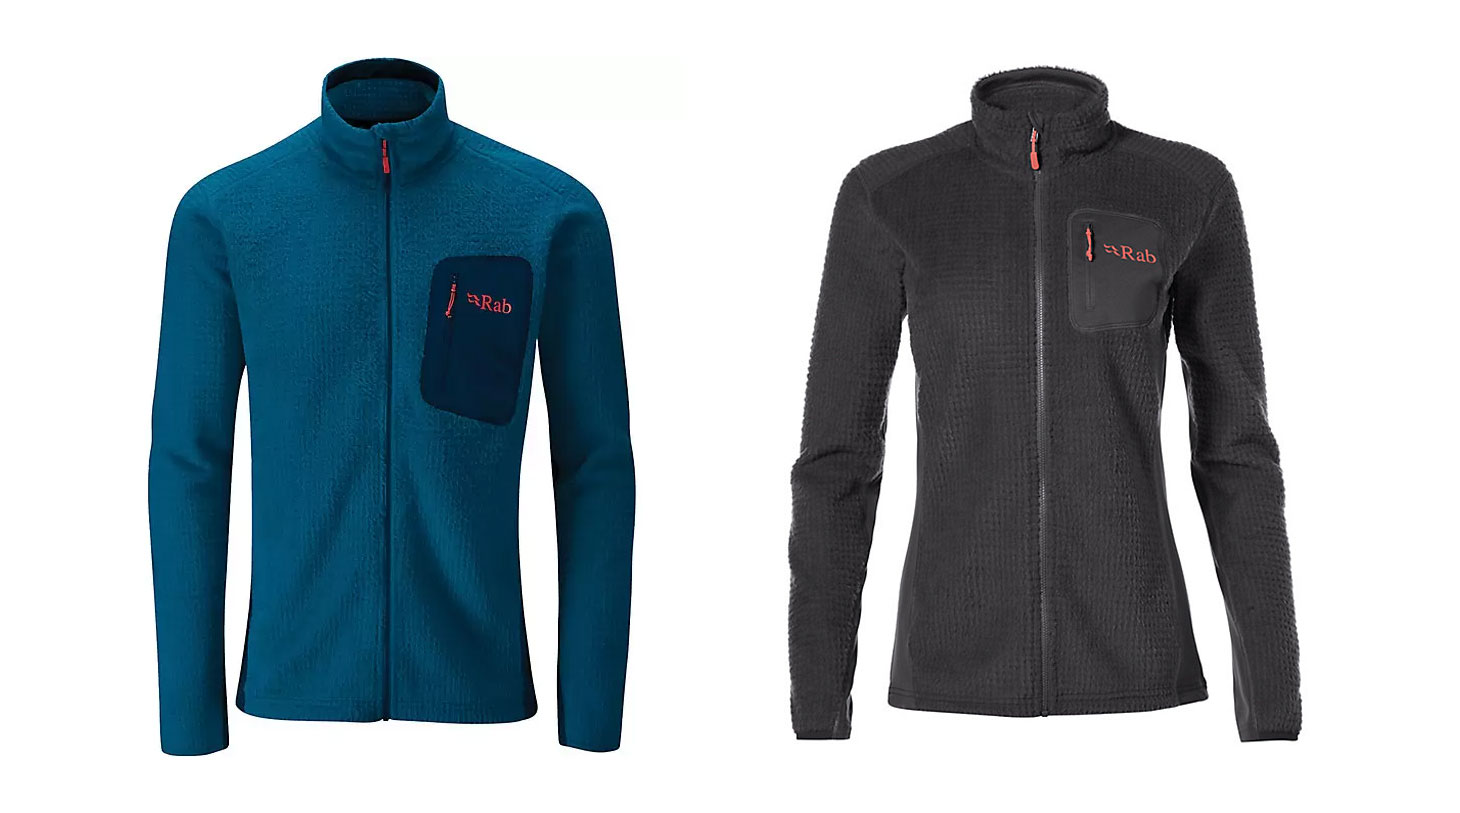
Rab Fleece ($125)
This fleece is simply the best midlayer out there. I love it over my wool base layer for colder mornings. It still lets the breeze in, and it breathes but adds that extra layer I need.
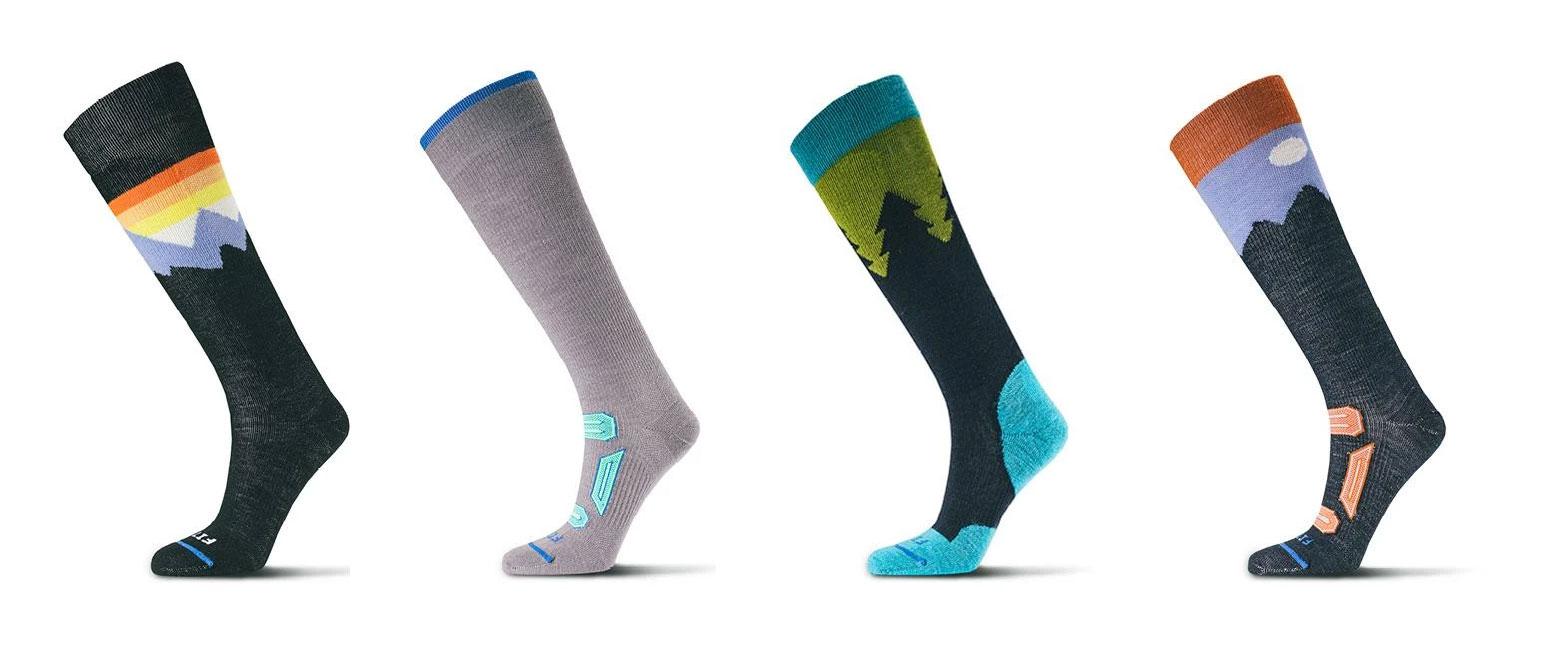
FITS Merino Wool Socks ($21-26)
Most people aren’t too specific about the socks they wear until they get a few blisters. These wool socks from FITS are made from “the finest merino wool” and have just enough cushioning in all the right places. They keep my feet happy, warm, and blister-free lap after lap.
Pearl Izumi AmFIB Lite Gloves ($55) & Gordini Storm Trooper Gloves ($64)
When it comes to gloves in the backcountry, you want a few pairs: a thin pair for climbing uphill and a heavier-duty pair for going downhill. My favorite for climbing up is the AmFIB Lite Gloves from Pearl Izumi. For riding down, I love Gordini’s Storm Trooper Gloves, as they’re bombproof and super warm.
Check AmFIB Price at Pearl IzumiCheck Storm Trooper Price at Amazon
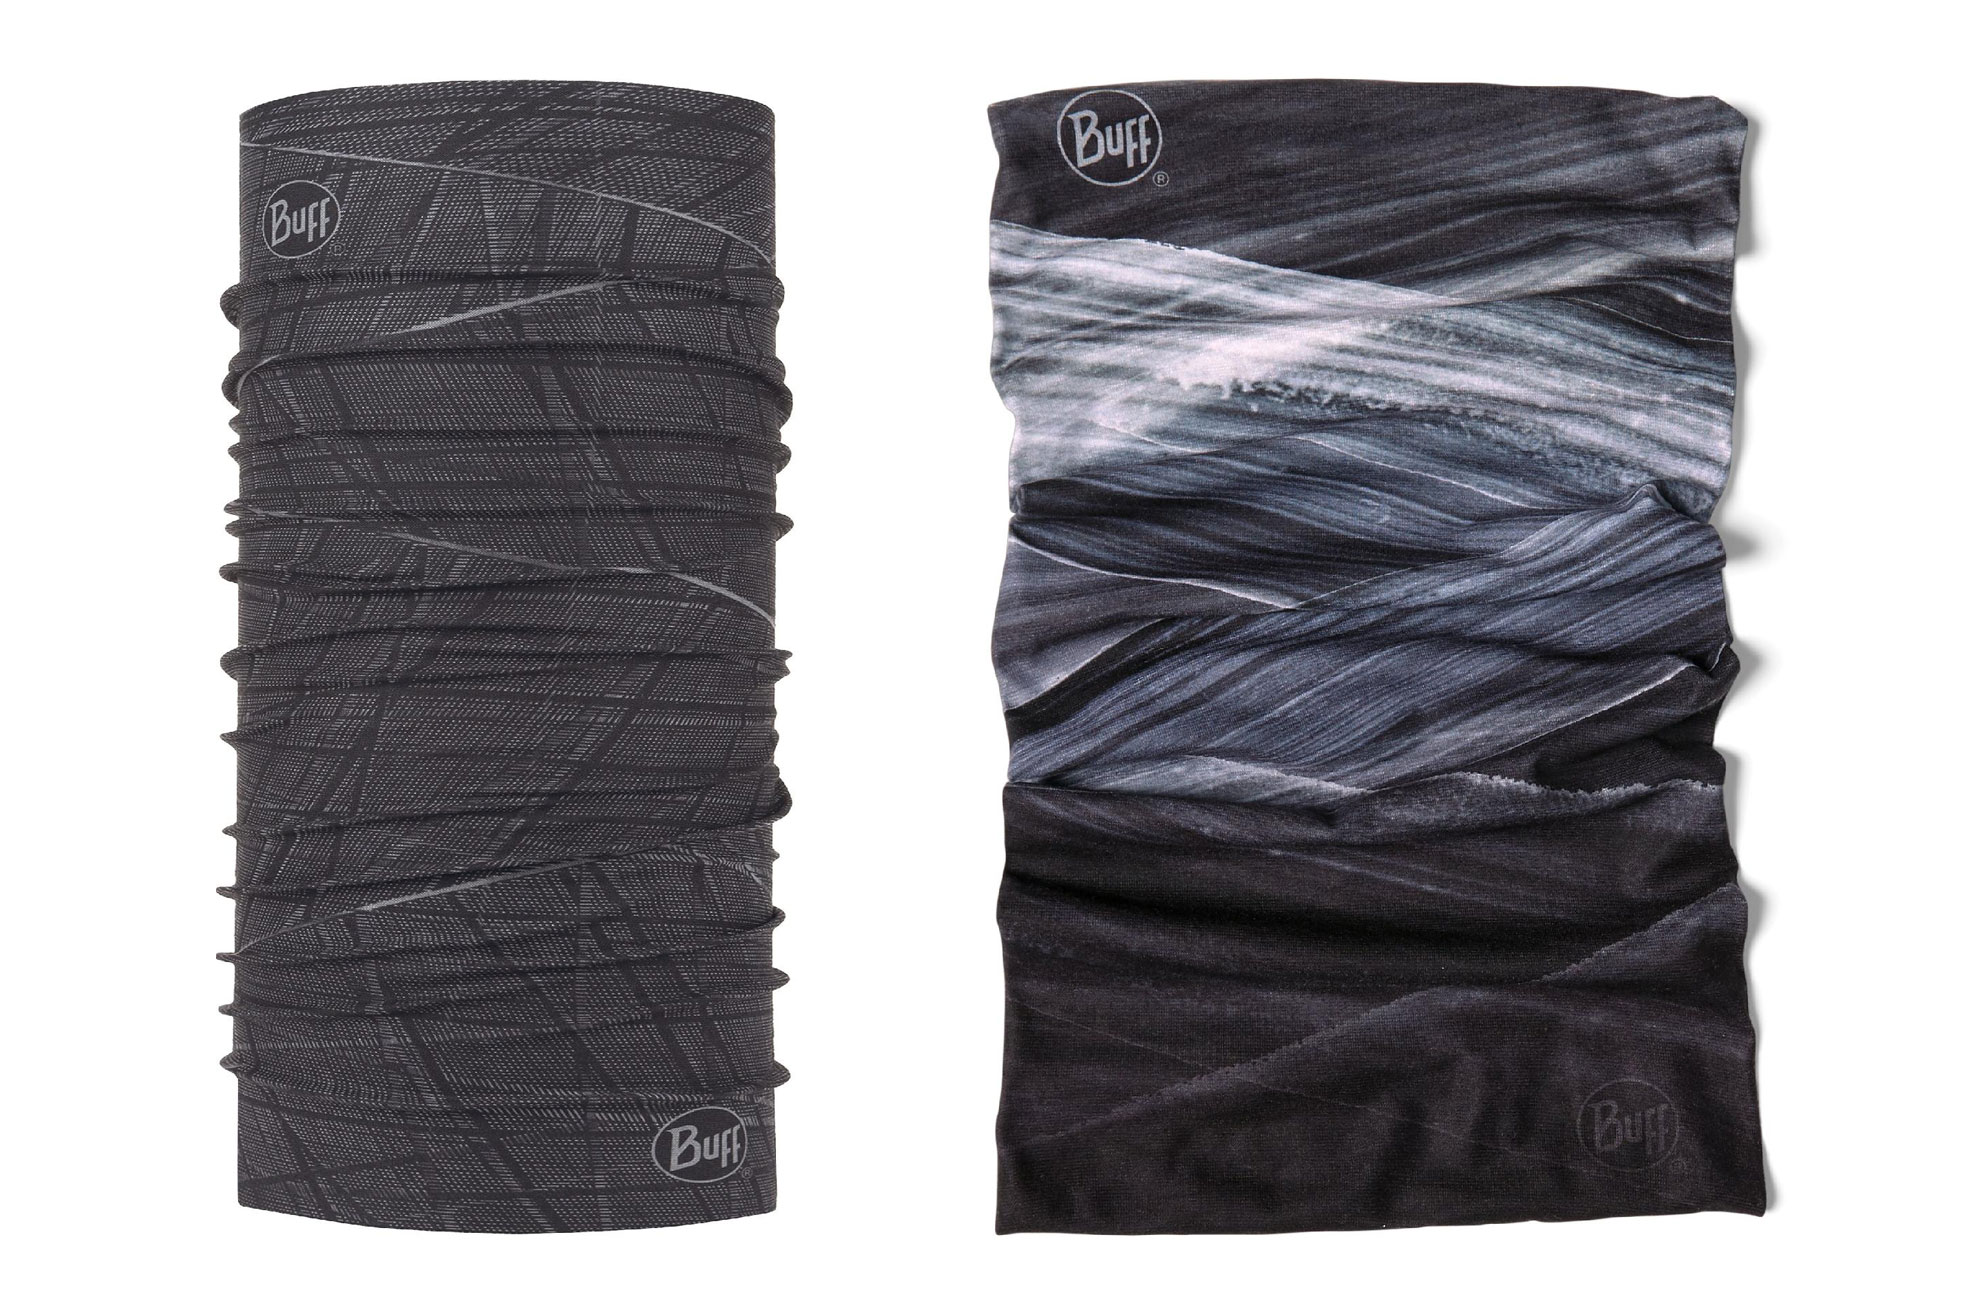
Buff ($20-45)
A buff is like duct tape: It’s great to have at least one with you at all times. They fit underneath a helmet, they work as a neck gaiter, and they work as a face covering.
Check Price at REICheck Price at Amazon
What I Pack
Mammut Barryvox Package Pro Light: Beacon, Probe, Shovel ($460)

When it comes to money, don’t skimp on your avi gear. Get a beacon with a strong signal and that’s super user-friendly. For the shovel, get one that has a large, durable blade that’s both lightweight and easy to use. For the probe, look for one that is long in length and quick to extend.
I’ve been using the Barryvox package pro light from Mammut, which comes with everything listed above. It is all super user-friendly and of the best quality.
Patagonia Nano Puff Hoody ($249)
Even when it’s a bluebird day without a cloud in the sky, I always carry a puffy. Partly because I live in central Oregon, where it can change in a matter of minutes, but also because you never know what is going to happen in the backcountry. My favorite is the Patagonia Nano Puff. It’s the lightest puffy on the market that’s both durable and water-resistant, making it perfect for winter outdoor adventures.
Check Price at REICheck Price at Backcountry
Snacks
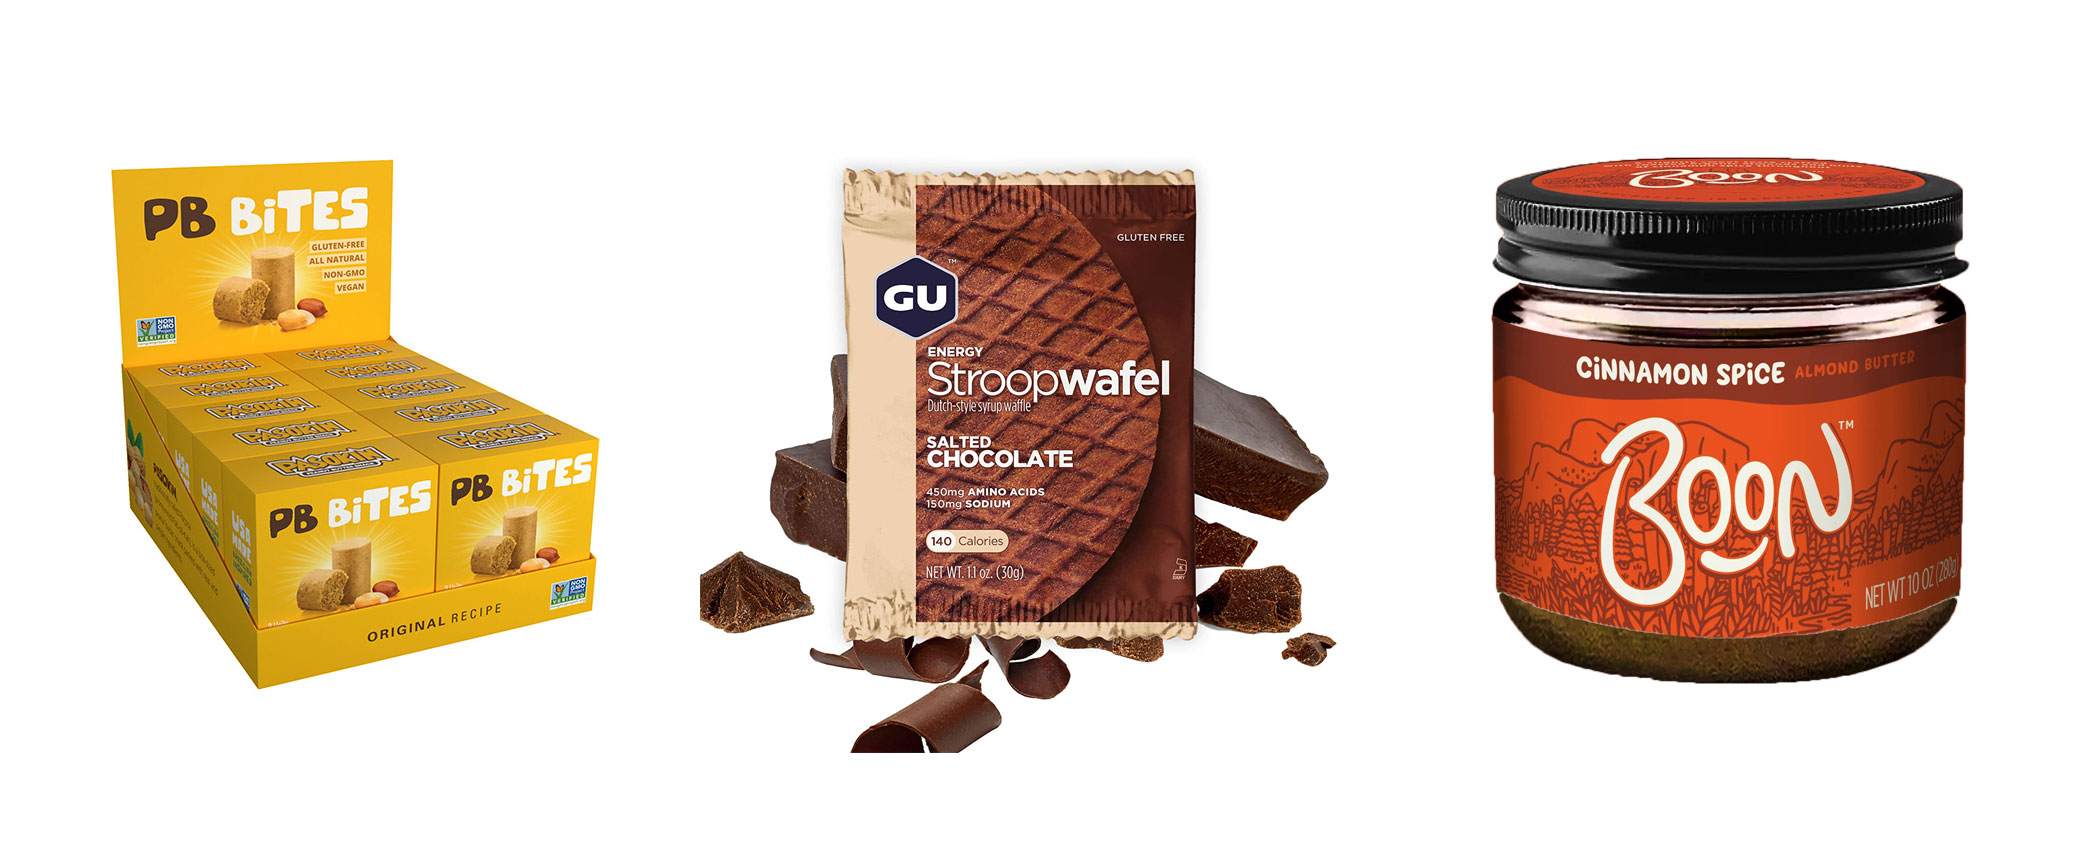
Snacks, whether it be a basic PB&J or a fancy treat, are super important for keeping you energized, alert, and happy. Nobody likes to be hangry, especially not on top of a mountain. My favorite right now are Pasokin Peanut Butter Snacks, GU Salted Chocolate Stroopwafels, and a Boon Almond Butter and jam sandwich!
Check Pasokin Price at AmazonCheck Stroopwafel Price at AmazonCheck Almond Butter Price at Boon
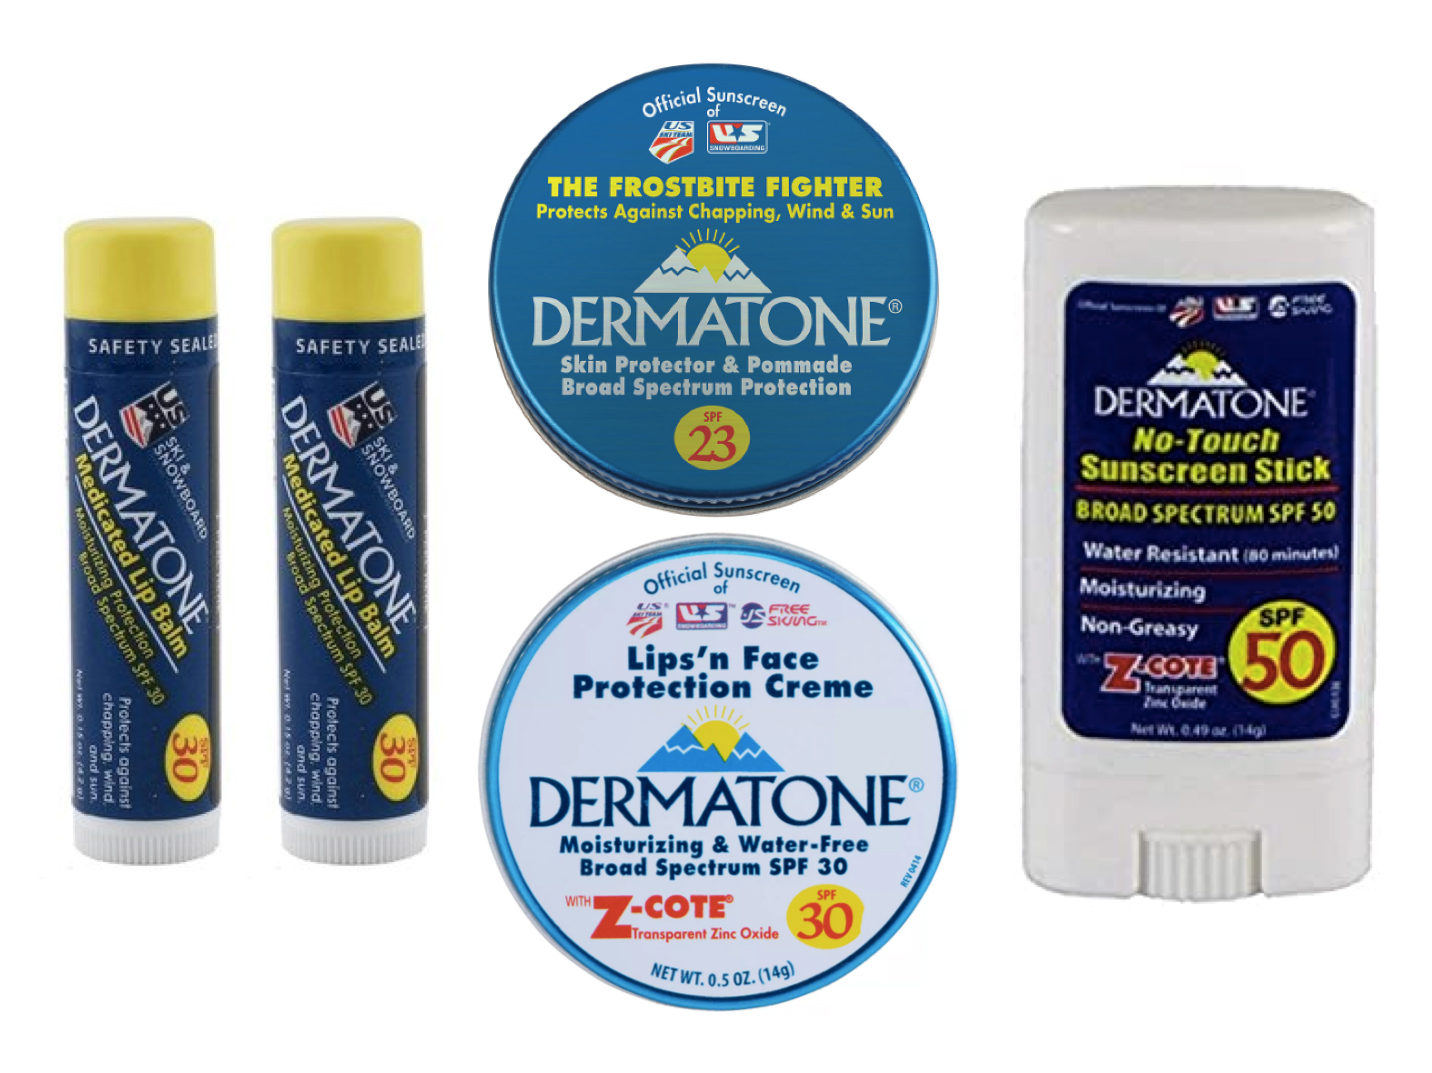
Dermatone Sunscreen ($25)
Even though it’s winter and it’s cold, that doesn’t mean the sun doesn’t shine. In fact, the sun’s glare off the snow makes for some epic goggle and under-nose tan lines. Dermatone makes a solid choice, as it focuses on winter activity sun protection. In fact, it’s the official sunscreen/frostbite protection of the U.S. Olympic Ski and Snowboard team.
For $25, you can get the brand’s Outdoor Protection Kit, which includes SPF lip balm, sun stick, sunscreen, and face cream. Whatever you choose, make sure you slather up the ears, neck, and underneath the nose!
